AltEdge
With just one line of code, AltEdge instantly generates AI-powered, context-aware alt text for every image. No uploads, no developer needed — just seamless accessibility compliance and boosted SEO across your entire site.
Creating a Site
- Navigate to the AltEdge in your AltTextify.net left menu.
- Click Add New Site.
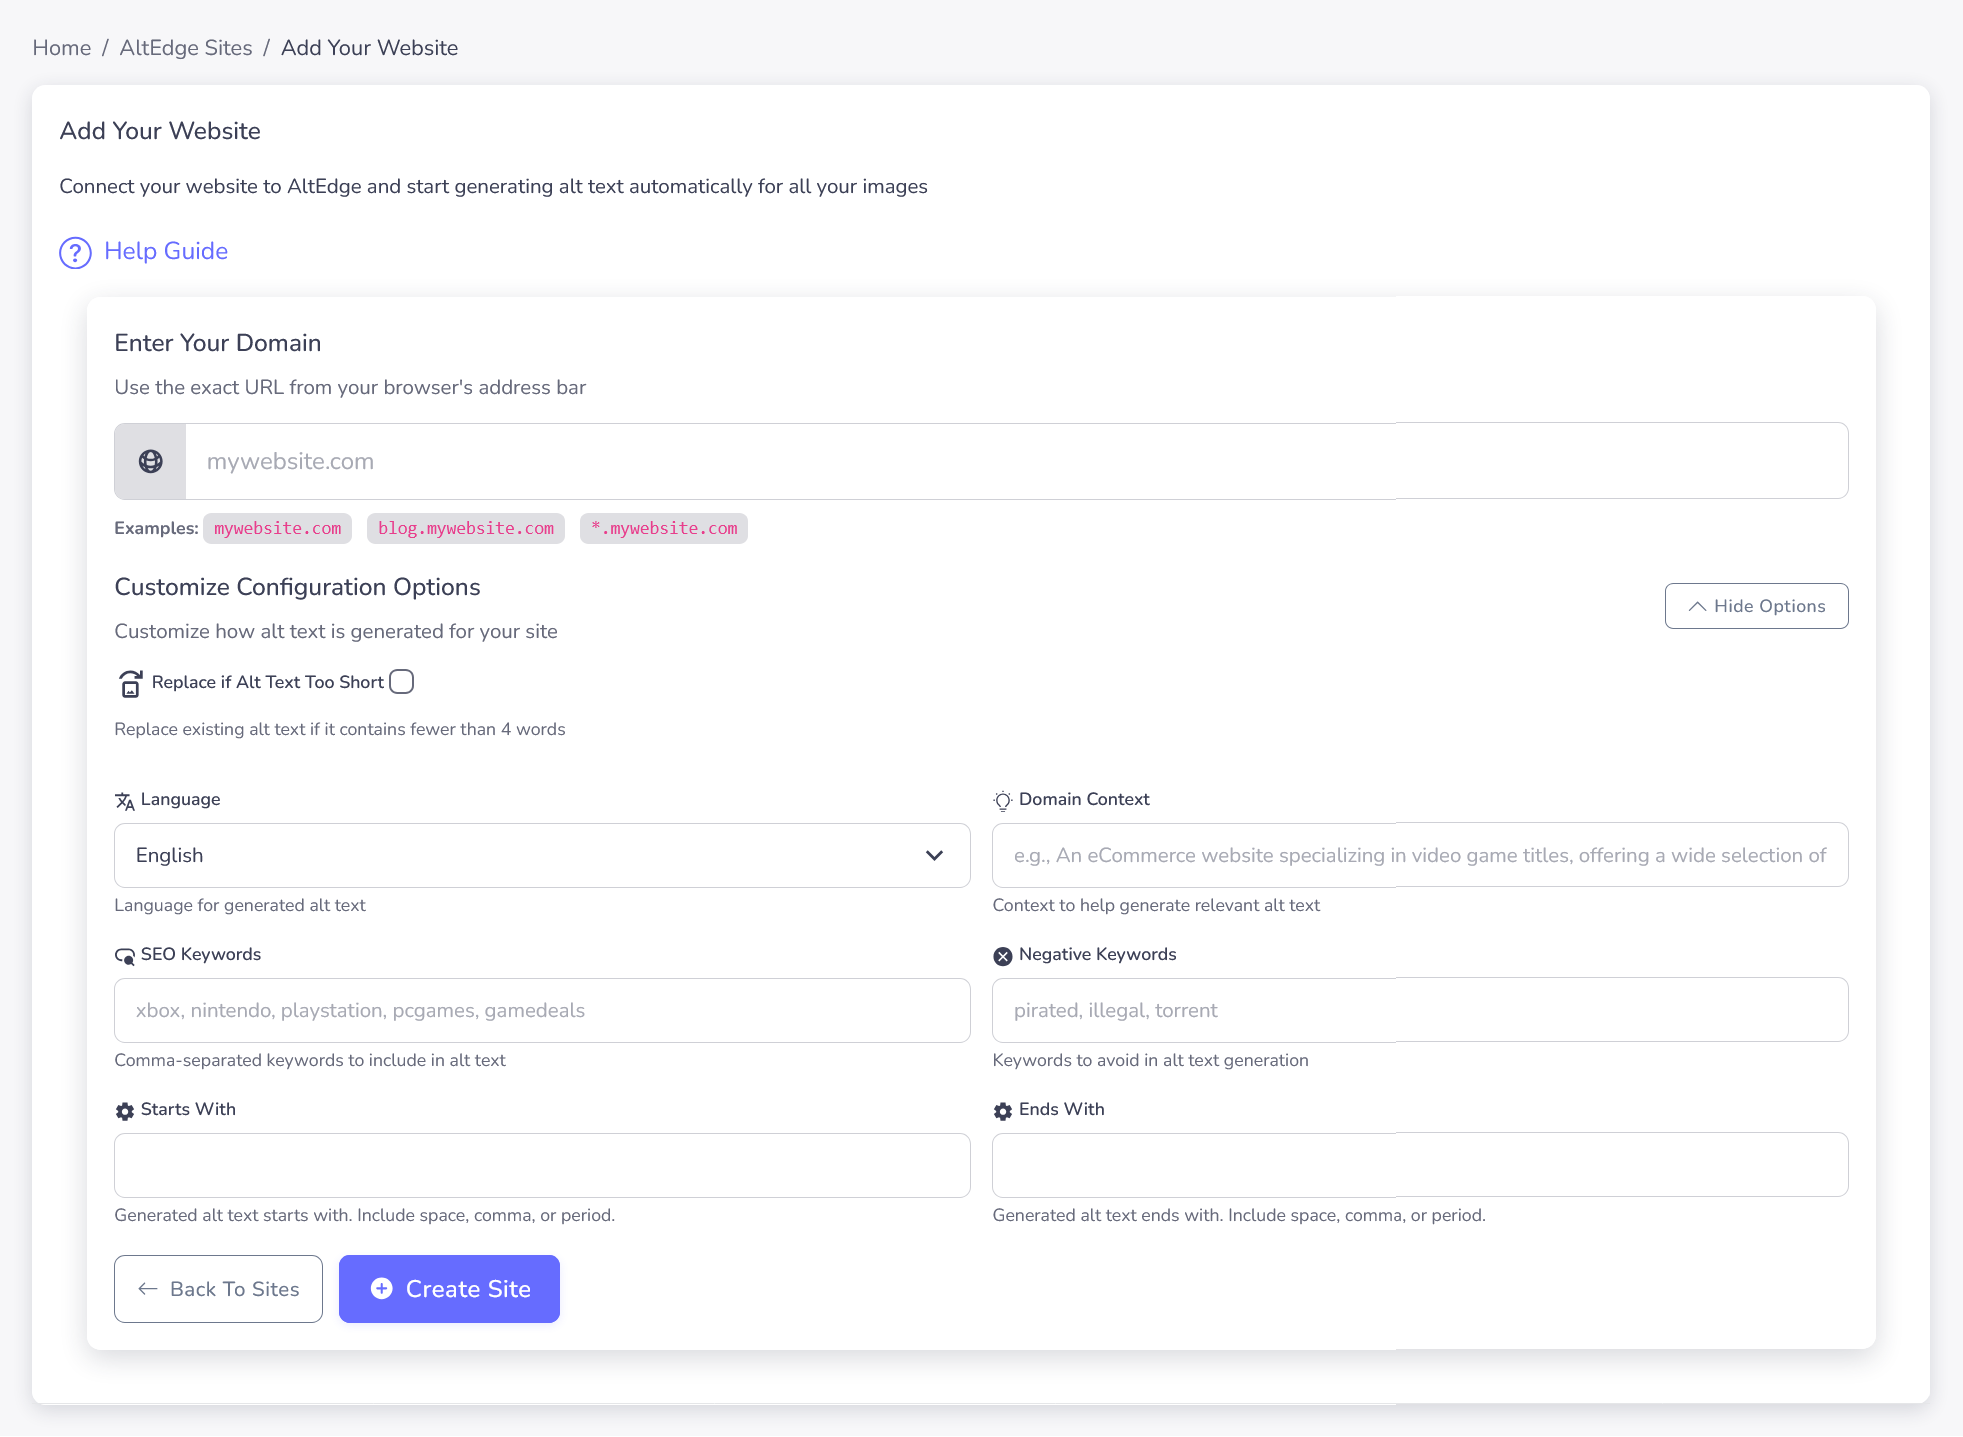
- Provide the domain name where your site is hosted.
- mywebsite.com - single domain
- blog.mywebsite.com - subdomain
- *.mywebsite.com - wildcard
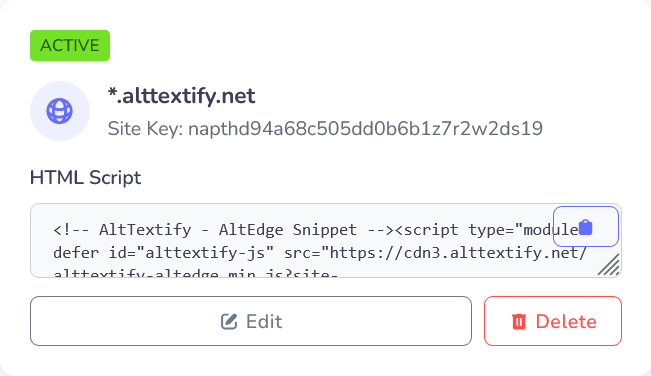
Activate site
Step 1: Once you have created a site, you need to activate it. To activate a site, you need to add the site key to your website.
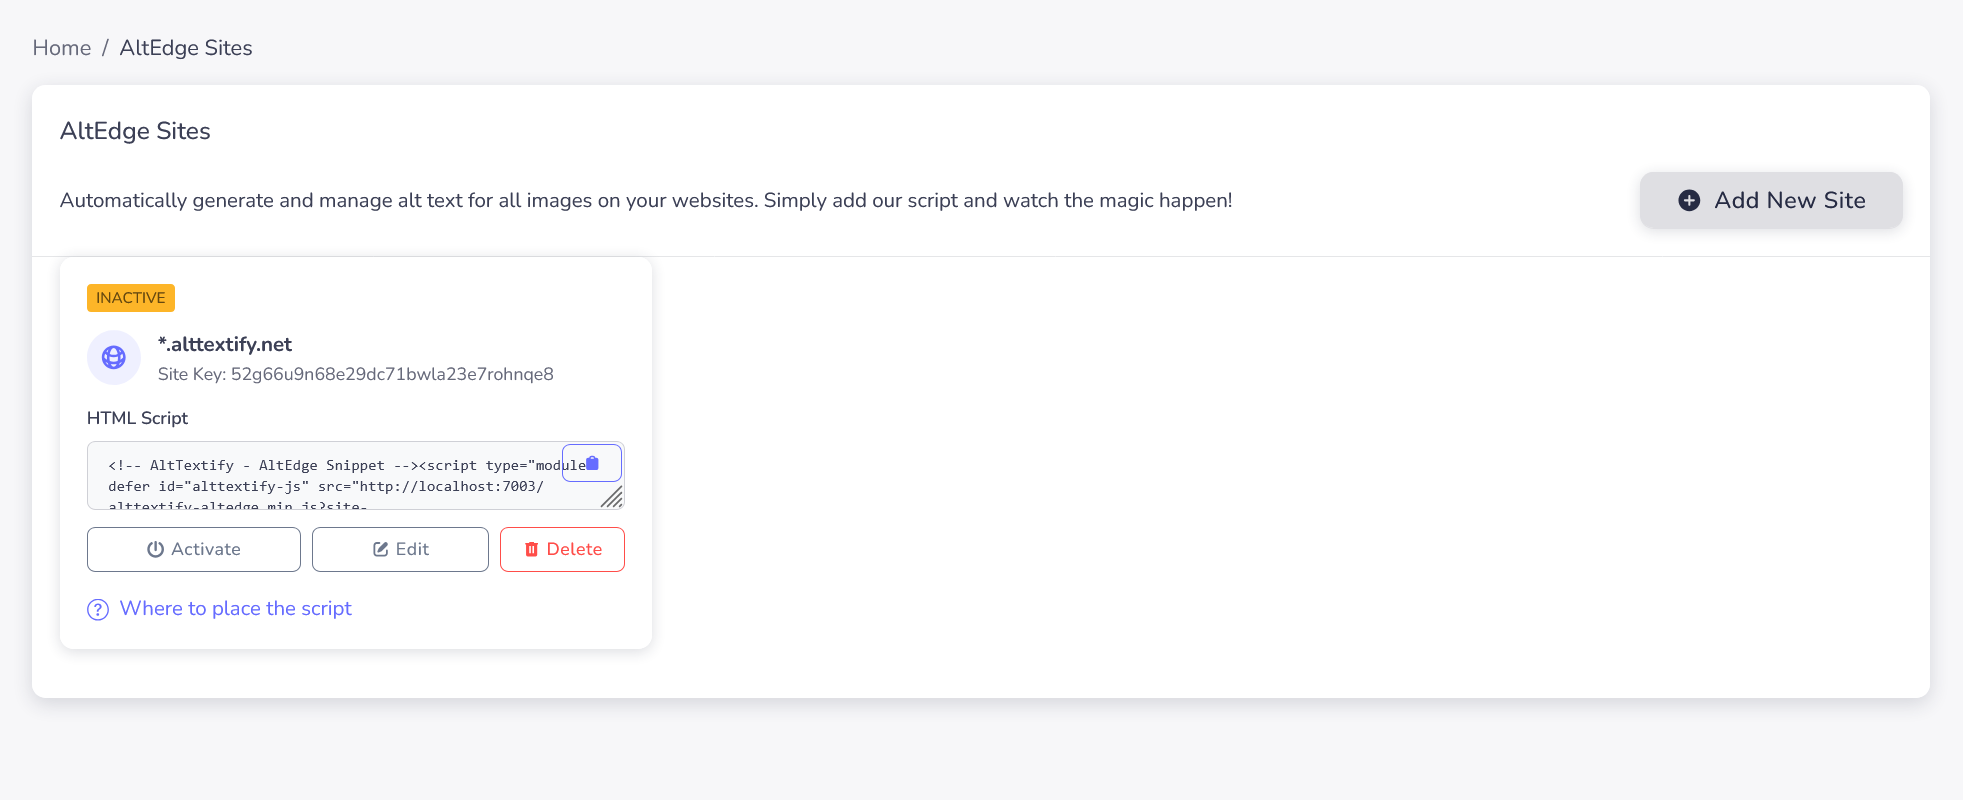
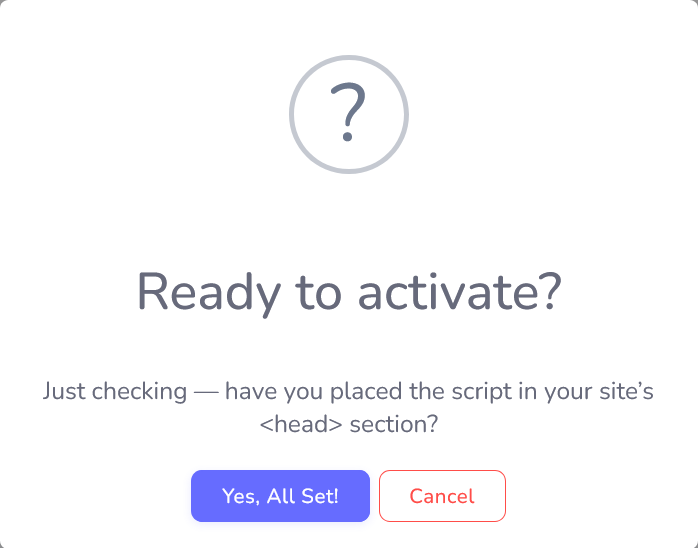
Step 2: Once the script is added to your website, you need to click the Activate button.
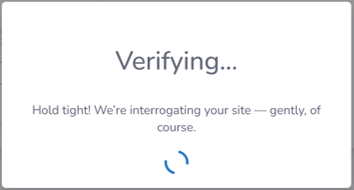
Step 3: During activation, you will see a loading message. We will open a new tab with the configured site to activate your site.
Step 4: Once the site is activated, you will see the site in the list of activated sites.
Advanced Properties
The Advanced Properties option allows you to specify additional parameters for the alt text generation process.
- Language: Select the language for the alt text.
- Domain Context: Add your domain name to ensure the generated alt text is relevant to your website.
- SEO Keywords: List of keywords/phrases for SEO optimized alt text. Only one or two will be used per alt text, but all are considered. Keywords must be in English, even for alt text in other languages.
- Negative Keywords: List of negative keywords/phrases to be removed from any generated alt text. Negative keywords must be in English, even if requesting alt text in another language.
- Start with: Text to prepend to all generated alt text
- End with: Text to append to all generated alt text